
Believe it or not, the hardest part about re-roofing a house is to tear off the old one. Some people skip it altogether and install new shingles on top of old ones. Although Pennsylvania allows up to two layers of asphalt shingles on your home—please don’t do that.
Tearing off your old roof is essential to install a roof that lasts and uphold the integrity of your entire roofing system and your home. Old shingles could have underlying issues that you can’t see at first glance. There may be leaks or damages underneath the roof deck or sheathing that needs to be remedied before putting your beautiful new roof down.
So today, we’re going to walk you through the steps to correctly tear off your roof shingles to prepare for a re-roof.
Tools You’ll Need for a Roof Tear Off
- Broom magnet
- Chalk line
- Extension ladder
- Hammer
- Hammer tacker
- Nail puller
- Pry bar
- Push broom
- Roof harness
- Roofing shovel
- Safety glasses
- Work gloves
Step 1: Prepping for Your Tear Off
Now that you have all of the tools you need for your roof tear-off, you’ll want to do a few critical steps to prep for the job.
Cover Your Landscaping
Tear-offs can get messy, so you’ll want to make sure any landscaping or flowers down below are covered and safe from falling debris. You can also use a Catch-All system to catch all debris that falls and collect it in a net that is easily gathered and taken away when you’re done.
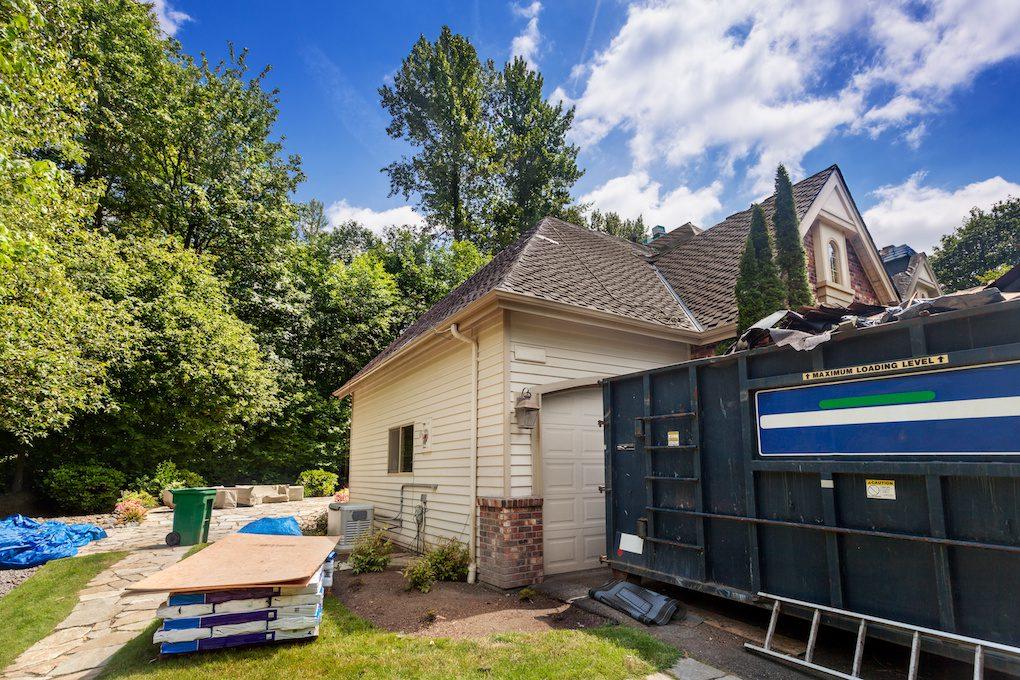
Rent a Dumpster
Since you’ll be generating a lot of debris, it’s best to rent a dumpster, so you have a designated place for everything. This will keep your yard and driveway clear and make clean-up a breeze.
Secure Safety Harness
Before getting up on the roof, you must ensure your safety harness is set up correctly and attached. Have a friend or colleague help you put it on and ensure it’s latched in all the right places.
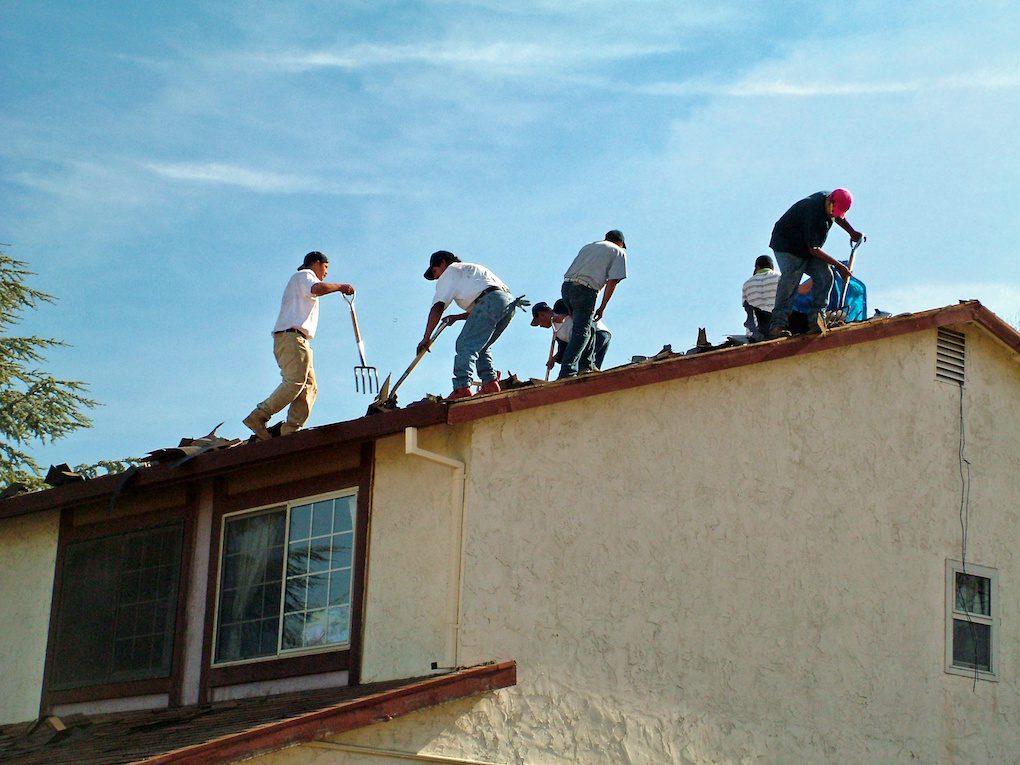
Step 2: Starting at the Peak, Start Tearing Off the Shingles
Let the fun begin! Starting at the top peak of the roof, use your roofing shovel and pry up the ridge cap first, then go row by row and lift up all the shingles, careful not to tear through the roof decking.
If using a roofing shovel, you should be able to lift up more shingles at once. Just let the shingles slide down the roof or roof jack and drop to the Catch-All or dumpster below. Or pull up a few and carefully carry them to the edge to drop into the dumpster.
A roofing fork is another tool roofers may use to tear up the shingles—some prefer it over a shovel because it won’t get caught on nails. Pry bars can also be helpful to get the shingles started before going to town, with the roofing shovel tearing off larger chunks.
Step 3: Assess Flashing, Vents, Pipe Boots, and Roof Deck
Once you get all the shingles off the roof, you should do a sweep of all the flashing, roof deck, and other roofing elements to check their condition. This is your chance to replace them, repair them, and locate any potential leaks that occurred with your old roof.

Step 4: Remove Flashing (Valley, Vent, Step)
You will always want to remove your valley flashing and any step flashing before laying your new shingles. Flashing does not last nearly as long as shingles, so it’s a good idea to always replace it fresh with a new roof.
Step 5: Clean the Roof and Pull Out All Nails
Now that you’ve pulled everything off of the roof, you’ll need to give it a once-over and pull out any remaining nails or chunks of shingles. Remove any old insulation or roof decking and flashing, and sweep off the entire roof.
Use a push broom to easily brush nails, debris, shingles, and junk off the edges of the roof. Note: you will bring your broom magnet through the yard to pick up the remaining nails, so don’t worry about them falling to the ground.
Cleaning off the roof gives you a nice clean slate to begin installing your new roof and removes any tripping hazards for a safe environment.

Step 6: Dispose of and Pick Up all Debris and Nails
Now you can dismount the roof and start cleaning up on the ground. Pick up all your big shingle pieces and other debris and toss them in your rented dumpster. Again, if you used a catch-all system, you can simply pull up all the corners and edges and bag up your debris in one swift movement—taking it to the dumpster to toss all at once.
Then, use your broom magnet (if you obtained one) and roll it row by row through the yard around the edges of your roof. The magnet will pick up loose nails in the grass, which keeps everyone safe from injury or mowing the lawn down the road.
Step 7: You’re Ready for Your New Roof Installation!
With your roof empty and free of the old shingles and roofing elements, you have the perfect clean slate to make any necessary repairs to your roof deck, replace your flashing, and begin installing your new shingles.

Some Extra Tips for Properly Tearing Off Your Roofing Shingles
Now that you know how to tear off your roof, there are still a few other things to consider before and during your tear-off.
Know Your Abilities
Roofing work is not easy, and even savvy DIY homeowners may need some help tackling such a task. So before you begin, it’s imperative to know what you are or are not capable of handling on your own. It’s one thing to DIY things like bathroom renovations or flooring, but quite another to get up on the roof doing hazardous work.
Don’t Go It Alone
If you do want to tear off your roof, make sure you have a team of friends, family, or fellow contractors to get the job done right. It’s vital to have people around to help make it easier and for safety reasons.
Don’t Hack It
Demo work is always fun—everyone loves to swing that hammer during renovations or tear off a big chunk of shingles. Still, it’s important to be gentle to avoid damaging anything during the teardown.
Take Breaks When You Need it
Don’t over-exert yourself. Injuries and mistakes happen when you get exhausted, so take breaks when you need to and be sure to time your project well to not run into the night.
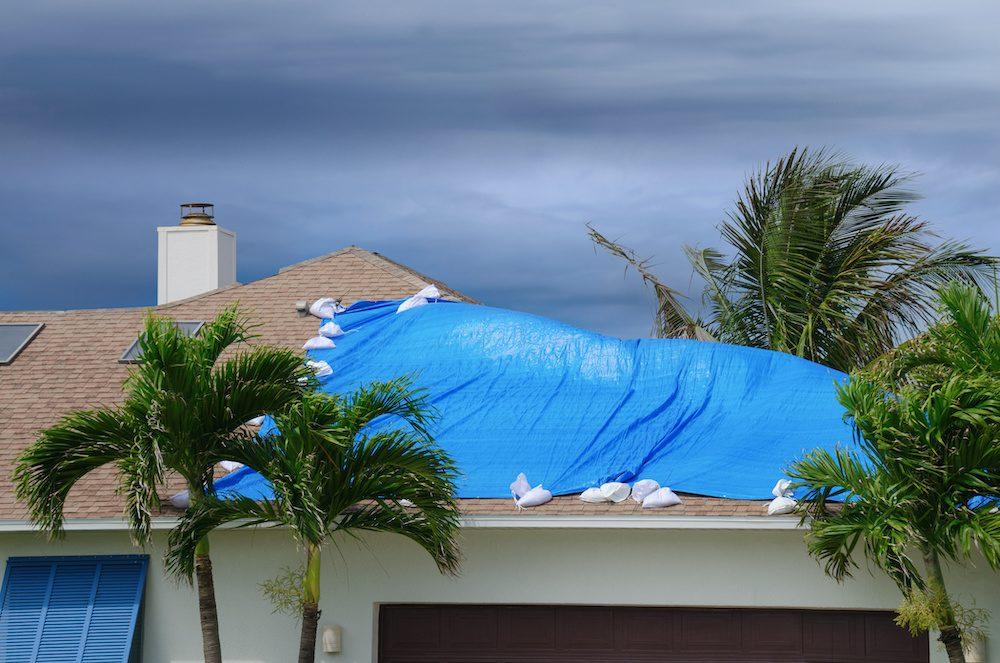
Watch the Weather
Roofing work goes best when the weather is good. The day you tear off the shingles and the day you install the new ones should be nice with no rain or high winds.
And if you do see that it will rain the day after you tear off the old roof, be sure to tarp over your work, so you don’t get water damage to your home. This is a crucial step where, if missed; you’ll be replacing your entire roof deck.
Don’t Want to DIY? Hire a Professional Contractor
And last but not least, if you choose to hire a professional contractor for your roofing tear-off, look no further than Dreamworx Roofing. Our team can handle your tear-off and roof replacement within a day—so you don’t have to! Simply fill out our form online to get started.
